Hole Is Mine How to Upgrade Shelly and Mini'Ohs
Village projects, equipment slots, Holy Blook sinks, and early specialization that actually sticks.
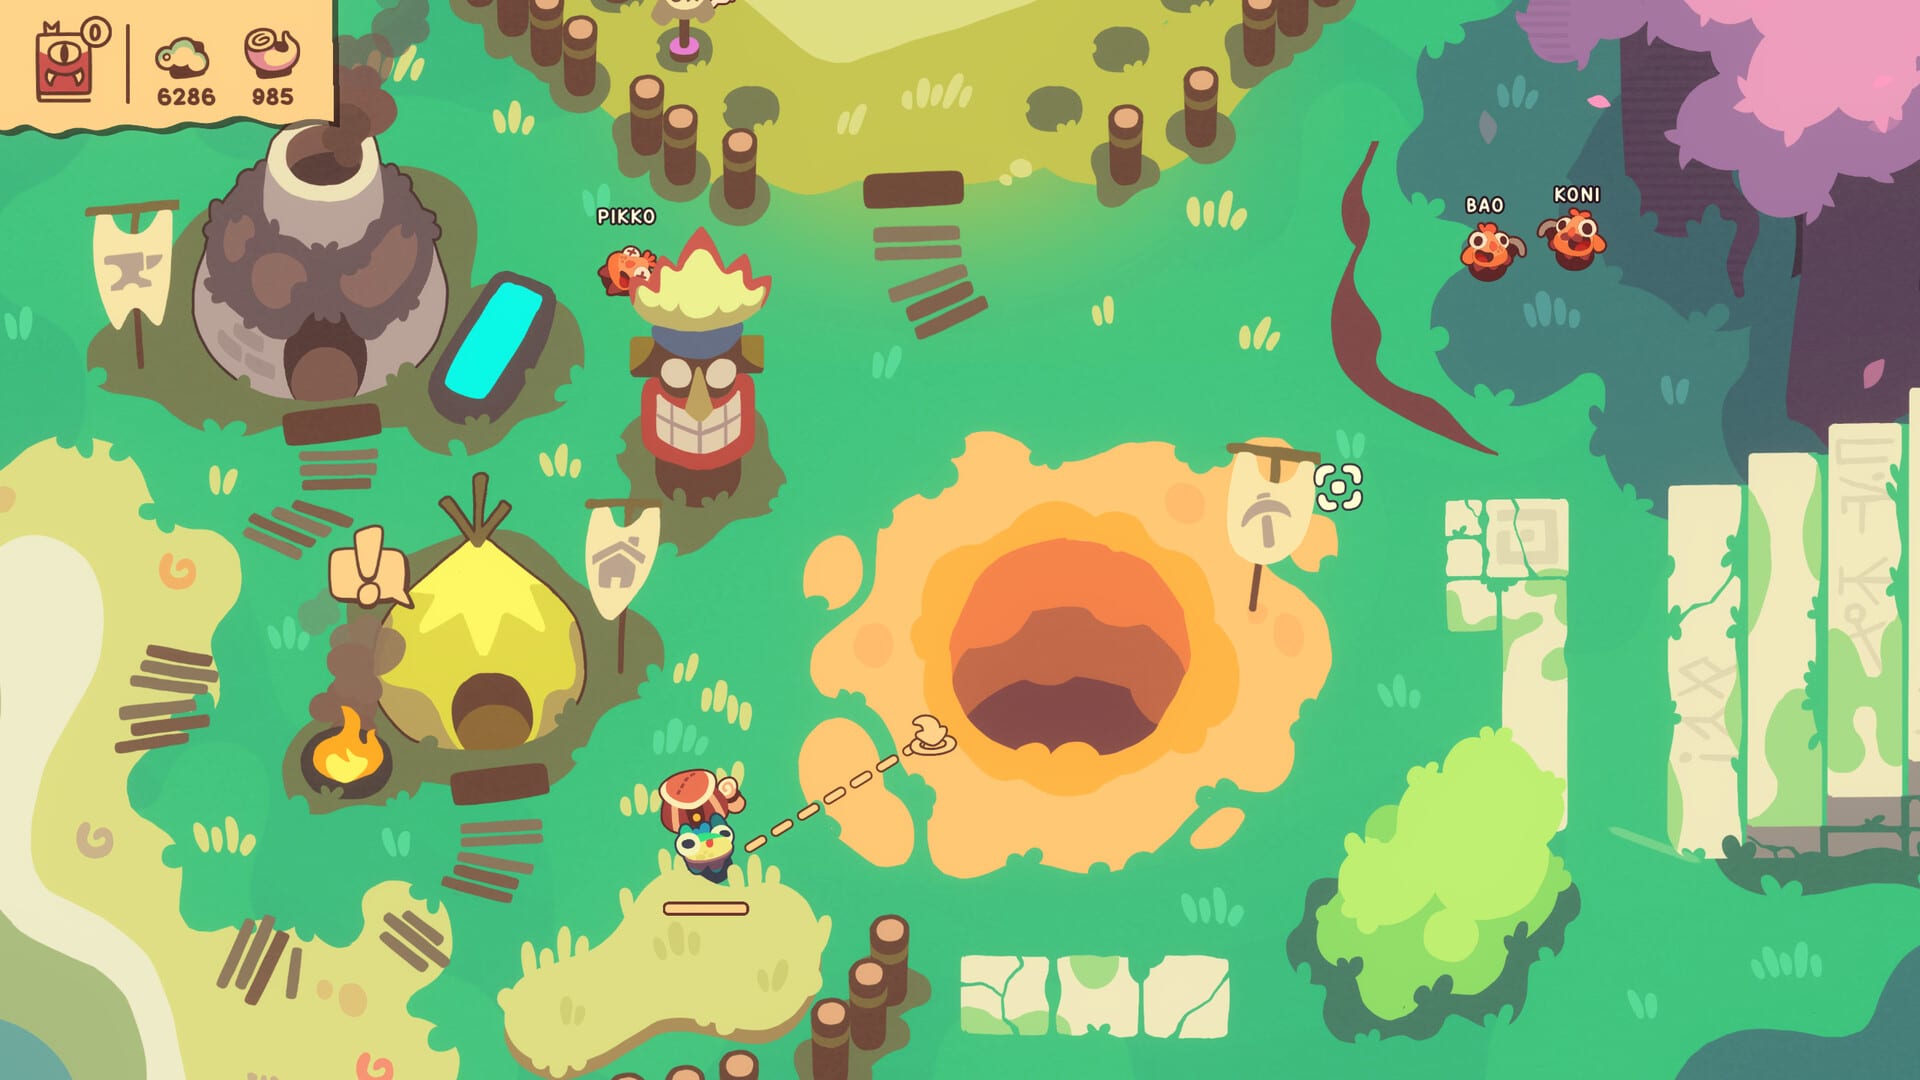
Hole Is Mine hides most of its power behind upgrade decisions. With more than three hundred upgrades and over five hundred equipment combinations, the game can look like a buffet. It is not. The winning approach is a menu: pick a carry Mini’Oh, feed the Village nodes that support that carry, spend Holy Blook on the equipment path that survives your current Depth, and ignore shiny distractions until the wall moves. This guide separates Village upgrades from equipment upgrades, explains Holy Blook’s role, and gives a spend order that matches the collect → upgrade → Incursion loop.
The full Steam release (App ID 4508020) launched August 10, 2026 from Incrementalist with SpaceJazz co-publishing. It is single-player only, with full controller support and Steam Deck Verified play. If you still need controls and day-one pacing, start at Getting Started. If your problem is throw timing rather than spend timing, use How to Start an Incursion.
Two budgets, one campaign
Treat Village upgrades and equipment upgrades as parallel budgets with different jobs. Village rebuilds and trees unlock structural power: better routing, quality-of-life, and long-term multipliers that help every future Incursion. Equipment upgrades customize Shelly’s team for the Depth in front of you: helmets and masks, pickaxes, backpacks, and supporting slots that define survivability and clear speed. Mixing the budgets mentally is how players “upgrade a lot” and still die to the same tentacle pattern.
A clean habit is to decide the next Depth target first, then ask which budget is blocking it. If you cannot survive, equipment and defensive Village nodes matter. If you survive but starve for resources between Incursions, Village economy nodes matter. If both feel fine but progress is slow, you probably lack a focused carry identity. The Tier List Hub helps name that identity once you have options.
Early game: specialize or stall
Early upgrades should not be democratic. Choose one carry Mini’Oh and invest until that Mini’Oh clearly outperforms the rest of your roster. Spreading points evenly feels fair and plays poorly. Friendship Wool, Heavy Axe (Heaxy Axe), Bravery Helmet, and similar named pieces should land on the carry first when they fit the role. Clone items are powerful when understood; they are expensive mistakes when slotted onto a Mini’Oh you do not plan to feed.
Your first Holy Blook sinks should complete a kit, not start three kits. A helmet or mask without a matching pickaxe and backpack is cosplay. A pickaxe without bag capacity planning is a tempo trap. Read equipment as a sentence: protection, dig or clear tool, and logistics. Then spend. Return to surface farming until the sentence is grammatical, then throw the bag.
Village upgrade priorities
Village progress rebuilds the settlement and unlocks systems that make Depth climbing humane. Prioritize nodes that remove friction in the gather cycle you actually run. Vanity or late-game Village branches can wait. Secrets tied to exploration are covered in Village and Secrets; this page only needs you to schedule Village spends after each successful gather, not after every impulse click.
When a Village unlock changes how resources convert, re-evaluate equipment. Sometimes a Village node makes a previously mediocre backpack excellent. Sometimes it makes your old pickaxe obsolete. Revisit loadouts after major Village purchases the same way you revisit loadouts after a Depth boss reveal in the Depths Walkthrough.
Equipment slots and named gear
Expect to manage helmets and masks, pickaxes, backpacks, and additional slots as the campaign opens them. Named items are landmarks, not a completion checklist. Friendship Wool often supports team-facing or supportive builds. Heavy Axe / Heaxy Axe signals aggressive dig or clear pressure. Bravery Helmet leans into surviving scary Depth checks. Holy Blook is the currency mindset for pushing equipment further — spend it where the carry’s weakest slot is, not where the icon looks rare.
Clone items deserve a special note. They change how pressure duplicates across a run. Before you invest heavily, confirm the Mini’Oh receiving the clone effect is your long-term carry for that Depth band. Upgrading a clone path on a temporary rescue wastes Holy Blook that could have finished Bravery Helmet or backpack logistics on the real carry.
Mid campaign spend order
- Confirm Depth wall and hazard type.
- Buy the Village node that softens that wall if available.
- Upgrade the carry’s weakest equipment slot with Holy Blook.
- Add one supporting Mini’Oh investment only if it enables the carry.
- Bank a small surplus, then Incursion.
- After the run, log what failed and repeat.
This order keeps the three-hundred-plus upgrade tree from becoming noise. You will not buy everything before Depth forty, and you should not try. Roughly five hours of core playtime assumes focused sheets. Infinite Hole later lets you farm more freely; see Infinite Hole once the campaign climb is done.
Holy Blook discipline
Holy Blook exists so equipment growth has a gated feel. Treat it like a boss key currency. If you spend it on experimental fashion between every Incursion, you will arrive at mid Depths under-armored. Batch spends: farm until you can complete a meaningful slot upgrade, buy it, then throw. Do not drip one tiny purchase at a time unless that drip literally flips a breakpoint you already measured.
Controller and Steam Deck players should map the upgrade UI so they never accidental-buy off-path nodes while browsing. The systems are deep; the interface still rewards slow reading. Pair upgrade sessions with a short note of “next Holy Blook sink” so you do not renegotiate your entire philosophy every time you open the menu.
Common upgrade mistakes
Maxing Shelly-only vanity before Mini’Oh survival. Ignoring Village economy until you are resource-starved. Building five half kits. Dumping Holy Blook into clone tech without a carry plan. Buying every upgrade that appears because the counter looks big. Assuming multiplayer will fix a bad sheet — it will not; the game is solo. Coming from the free Prologue (4511490) and underestimating how dense the full upgrade graph is.
Correct those habits and Incursions start landing. When you need throw timing, return to How to Start an Incursion. When hazards outpace your sheet, study the Depths Walkthrough. For the full sibling list, use the Guides Hub. Official destinations sit on the Links Hub, and balance shifts appear under Updates.
A compact philosophy you can reuse
Upgrade for the Depth you are fighting, not the fantasy roster you want someday. Village for the loop, equipment for the fight, Holy Blook for the breakpoint, one carry for clarity. Shelly purifies the divine Hole through prepared Mini’Ohs, not through a maxed screenshot of the upgrade tree. Spend with intent, throw with intent, rebuild the Village on a schedule, and let the five-hundred-plus combinations express a role instead of a shopping addiction. That is how Hole Is Mine’s upgrade systems stay exciting through forty Depths instead of becoming a second job.
Frequently Asked Questions
Quick answers about Hole Is Mine progression and builds.
What should I upgrade first in Hole Is Mine?
Focus early upgrades on one carry Mini'Oh and the Village nodes that support your gather loop, then spend Holy Blook to finish that carry’s core equipment slots.
What is Holy Blook used for?
Holy Blook fuels equipment upgrade progress. Spend it to complete meaningful slots on your carry kit rather than nibbling many unfinished paths.
Village upgrades or equipment upgrades?
Both. Village upgrades improve structural loop power; equipment upgrades solve the Depth in front of you. Buy whichever budget is blocking the next clear.
Are named items like Friendship Wool mandatory?
No. Use Friendship Wool, Heavy Axe (Heaxy Axe), Bravery Helmet, and clone items when they complete your carry’s role, not as a collection checklist.
Can I unlock every upgrade in the core campaign?
You do not need to. Specialize through the roughly forty Depths, then use Infinite Hole farming if you want broader completion.